
The easy path to Starlink on Any Vehicle
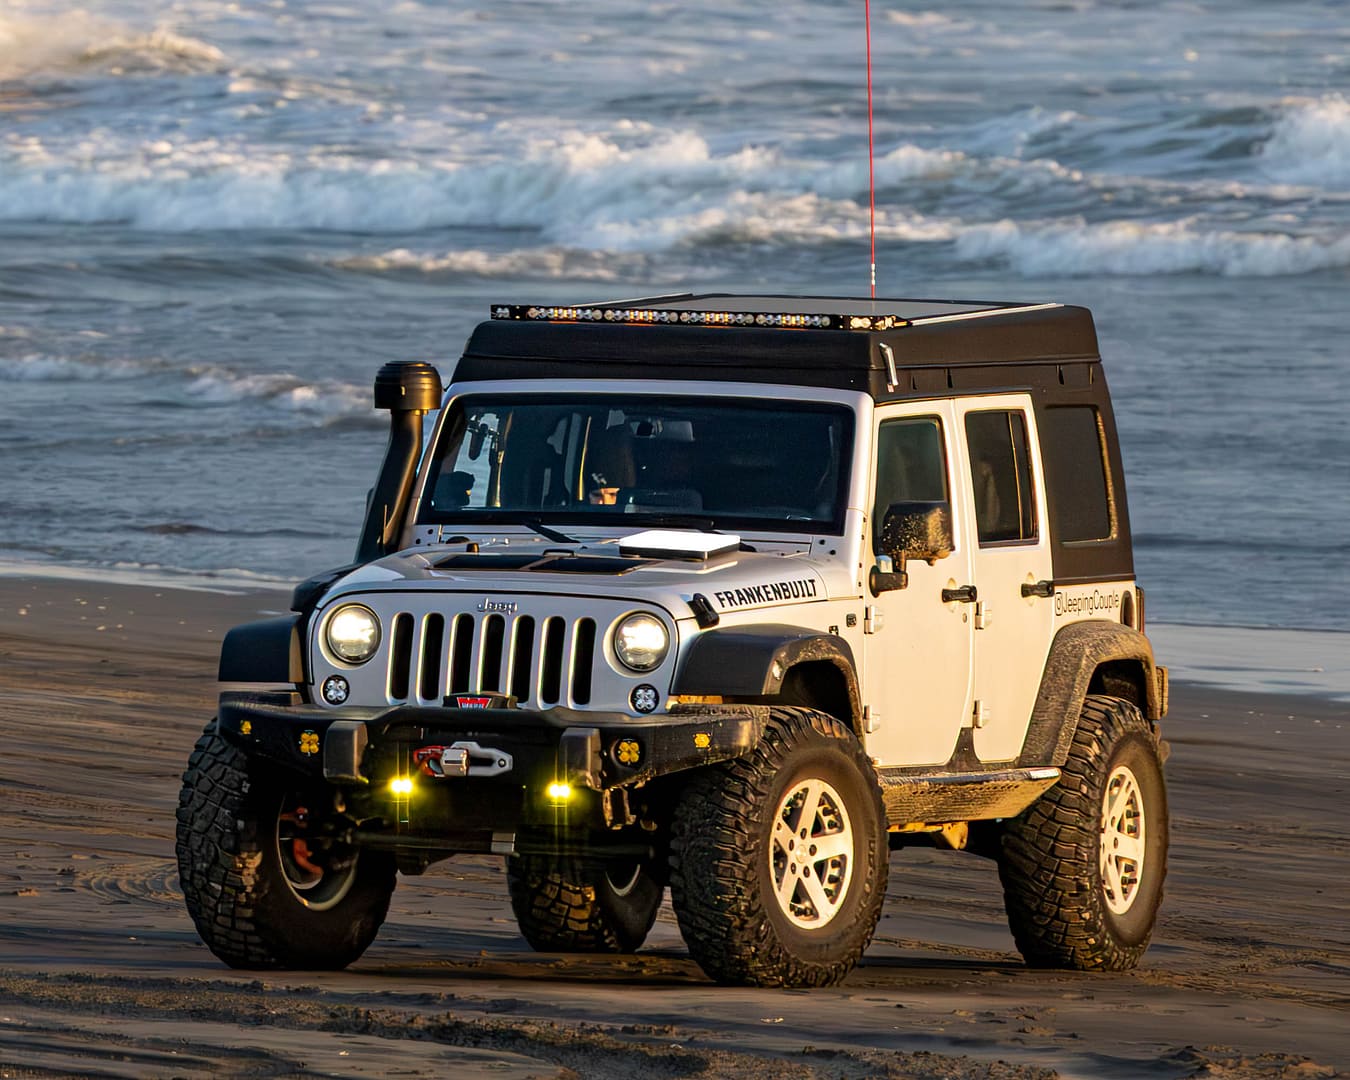
We finally added Starlink to our Jeep camper, and it was much simpler than I'd originally thought. Cost and complexity kept us away for a long time, but a recent price drop, better mounting solutions, and an upcoming solo trip across Death Valley, changed that. We are excited to have finally assembled this surprisingly easy Starlink overland setup.
There were 3 main reasons we hadn't prioritized Starlink until now. First, we had many radios: HAM, GMRS, CB... Second, we both have iPhones with Satellite text ability. Third, when we travel, we rarely stop long enough to really spend any significant time online. While these all offered some level of connectivity in the event of an emergency, we wanted more. Having fast internet available all the time has really changed the game.
Before heading in to Death Valley without any other vehicles, our friend Brian suggested Starlink – just in case. With a recent price drop, the hardware has become far more affordable. Also plans have improved to give us options we like. We discussed it, bought a Starlink Mini, and configured it before we headed out. While that was a nice piece of mind, it wasn't until we mounted it for in-motion use that we really understood how useful it could be.
Mounting the Starlink Mini - the ultimate overland setup
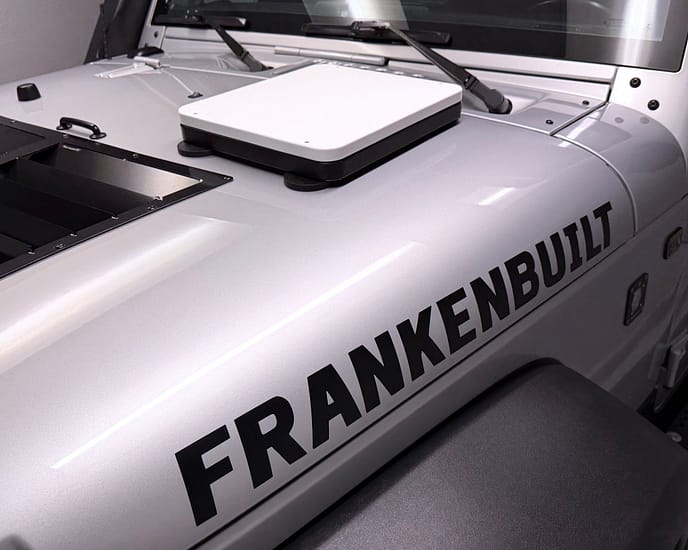
While we normally go all-in and fully integrate equipment on our Jeep, this was different. Starlink is a rapidly evolving technology, and I didn't want to do anything even semi-permanent. We also wanted to be able to use our new Starlink Mini on other vehicles as our Jeep isn't the only thing we drive well out of cell service. The Starlink Mini is both the satellite communication device, and the router all in one, so all we had to do was mount and power it.
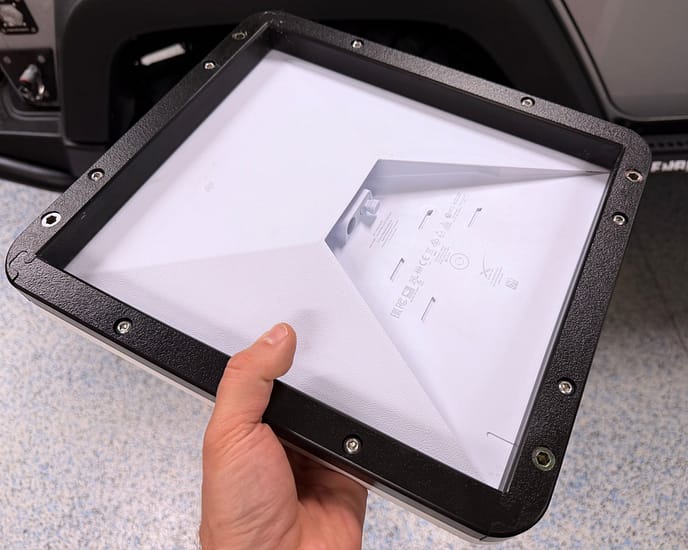
After much research, we finally settled on this mounting system from Veritas Vans. If you've been doing lots reading about this, you likely aren't surprised. This mount is very well built. We went for the kit with both suction cups and magnets because it offers the widest range of mounting flexibility. We can stick it to the sunroof on one car, the hood on another, etc. The magnets are very low profile, and offer a firm grip to any steel surface, which is great on our Jeep. The suction cups are also surprisingly effective and allow easy attachment to the glass sunroof on our VW.
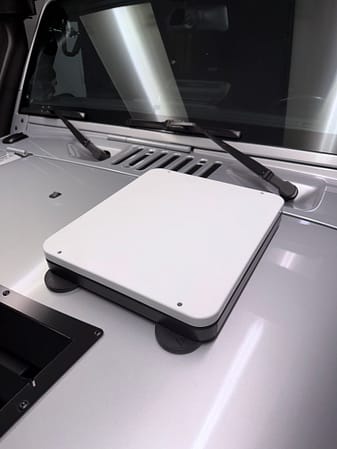
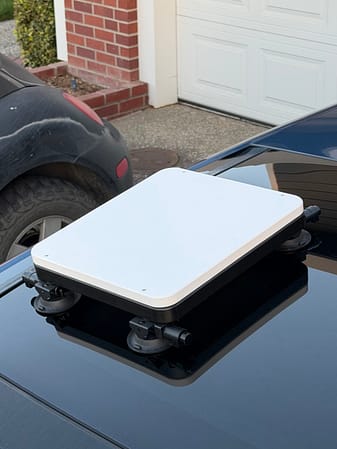
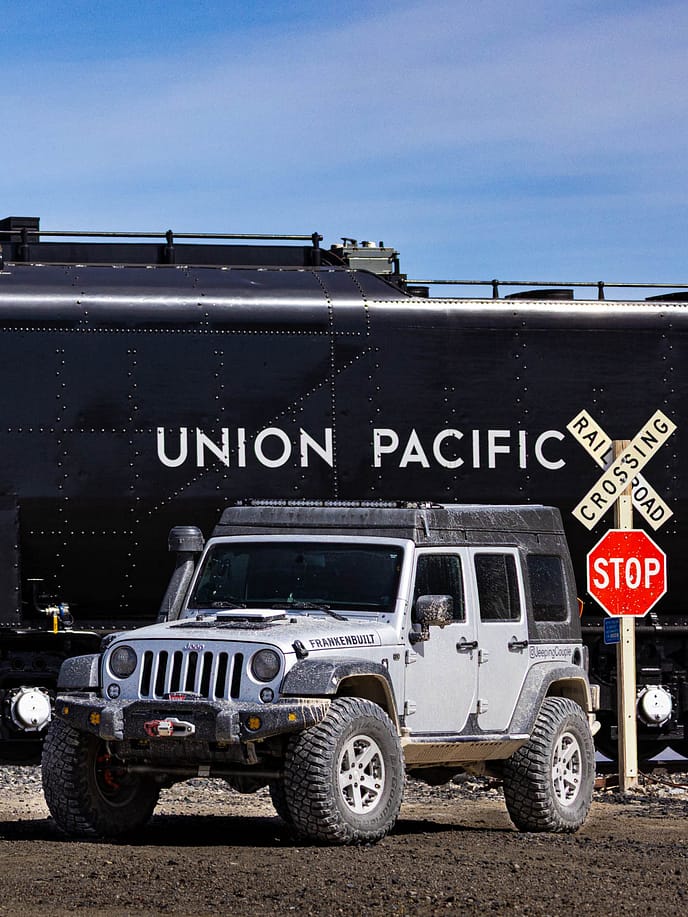
Installing the Starlink in the Veritas Vans mount was so simple, there isn't really much to write about. You simply put the Starlink in the mount face down and screw the back half of the cover on with the supplied screws. The entire mounting process including wiring took us less than an hour. Then we headed out on a trip to chase the biggest steam engine in the world across the Nevada desert. That is where the Starlink really proved its worth the first time.
Wiring the Starlink Mini
While wiring usually scares most people off, this is so simple anyone can do it. I decided to get fancy and wire it to the car battery with this Starlink SAE connector cable. On the battery side, I used half of this SAE Extension. I wired the other half of the SAE extension to my battery charger to make connecting the charger for long storage easier than ever.
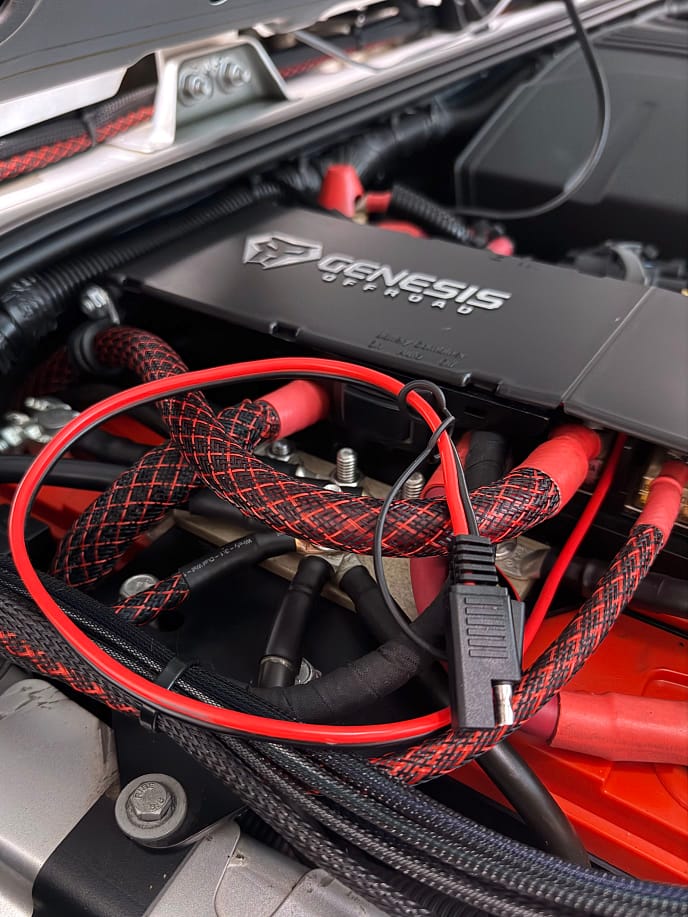
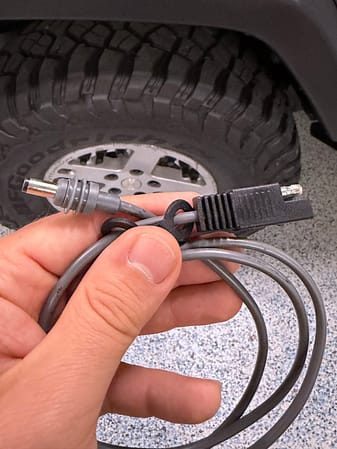
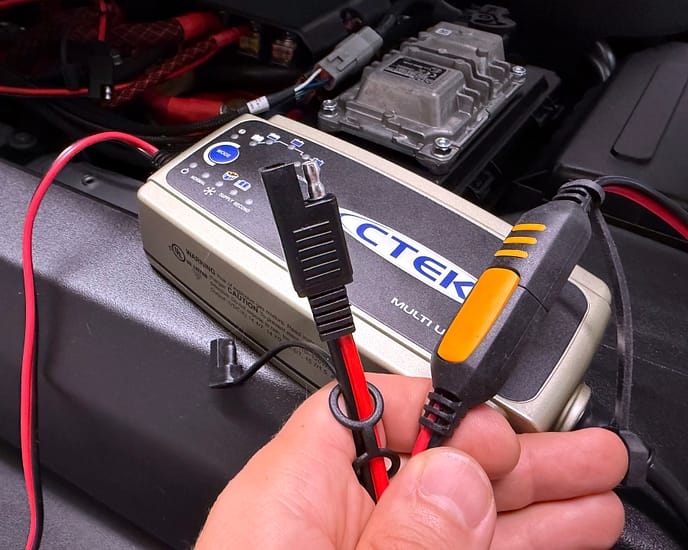
While our auxiliary fuse block made adding this incredibly simple, you can just as easily add this to any car, by using this fused SAE terminal harness. Simply land each of the two ring terminals on their respective battery post clamps, and do the rest like I did on the Jeep. The alternative is to use a USB-C Starlink harness like this one from Amazon, or better yet, this one from Veritas Vans. Keep in mind that this option requires a USB-C power supply capable of 100W like this one from Amazon, or this one from Veritas Vans. If you just want a one-and-done solution, Veritas Vans has this nice 3 in one power supply solution.

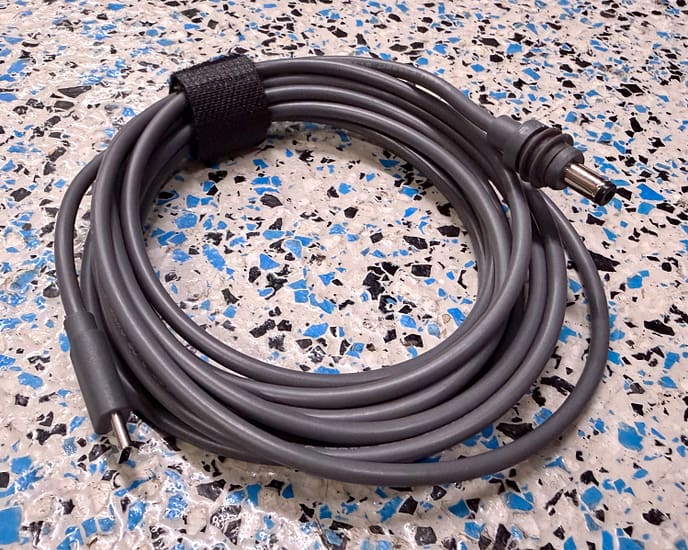
Another great thing about the USB-C cable is that it works with some power banks. While it did work with 65W port on our Joolca battery bank, it is not recommended. You should use one with a 100W port like this one. An even more awesome alternative we are considering is this slick battery pack that fits the Starlink like a glove, also by Veritas Vans. We haven't had our hands on one yet since we haven't needed to run Starlink away from the car, but it could be handy if parked under heavy tree-cover.
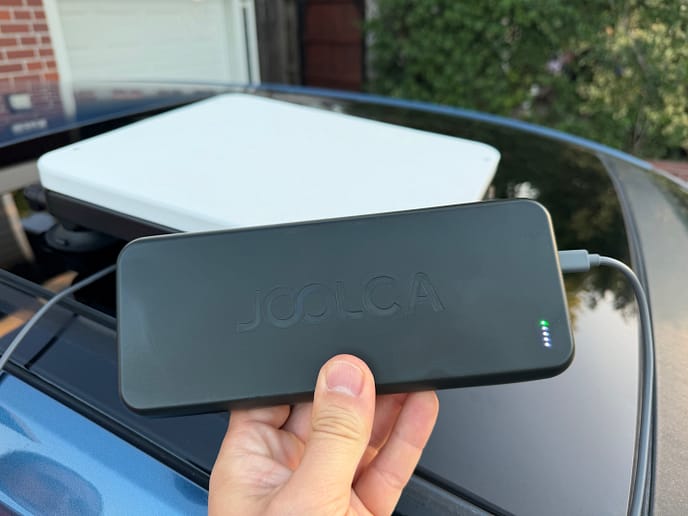
Using this easy Starlink setup on our Overland Adventures
We have been running this setup for a while now and absolutely love having this level of connectivity. When I went with my friend Ben to chase that train, it allowed me to Face-Time my wife Ashlee. It also gave Ben the opportunity to pull up maps of various areas, and communicate with friends about some great spots to photograph the train.
On another trip, Ashlee and I drove up the Oregon coast, and it allowed us to stay connected. We could book campgrounds, research hotels, and look up maps and tide charts in remote areas. We also sprung for the unlimited plan for that trip and just left our phones connected to it all the time. That was nice because all our photos/videos were constantly being uploaded to the cloud as if we were home.
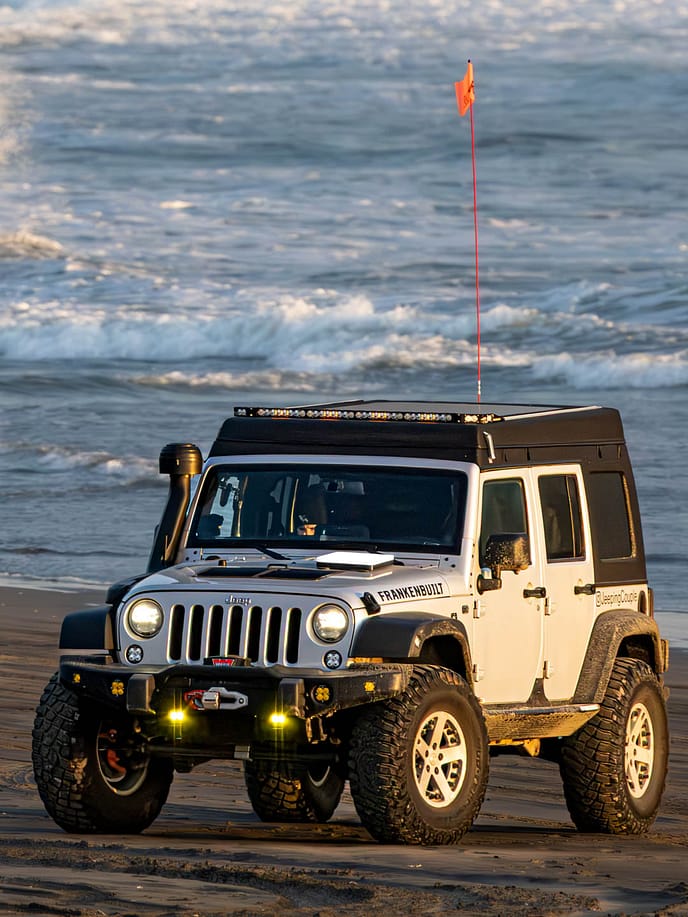
I had concerns about power consumption, but found the Starlink to be light enough on power we now leave it plugged in throughout entire trips. We do however unplug it when we are home, as to not kill the battery. At night, along with our fridge and phone chargers, the Starlink will pull our battery down as far as 12.2 Volts, but so far - not more than that. During the day we are either driving somewhere, or our solar panel keeps the batteries topped up. If you planned to do the same without solar and park for several days, you may need to run your vehicle occasionally to charge the battery.
Final Thoughs
We should have done this sooner? In reality, this timing was probably about right as Starlink hardware has recently come down in price, mounting options have improved, and service plans got better. You can finally have an easy Starlink overland setup on almost any vehicle now. The Starlink, mount, and wiring solutions have been working flawlessly for a while now and we couldn't be happier. I would highly recommend this to anyone who wants internet connectivity outside of cell coverage.
To be transparent as possible, I want to add that we bought everything mentioned here at full retail from Starlink, Veritas Vans and Amazon. Also, if your purchase Starlink though our links here, you and I will both get one month of free service 30 days after activation. We will also earn a small commission if you buy through some of our other provided links.
If you found this information useful, and want to help us out, click a link on this page to shop and we'll earn a couple percent. This does not affect the price you pay, and we greatly appreciate it! In fact, any shopping through our affiliate links, like this one to Amazon, and this one for Summit Racing, works the same way. For the full affiliate disclosure and vendor list, click here. I wish you the best of luck with your project - Thanks for visiting!

0 comments